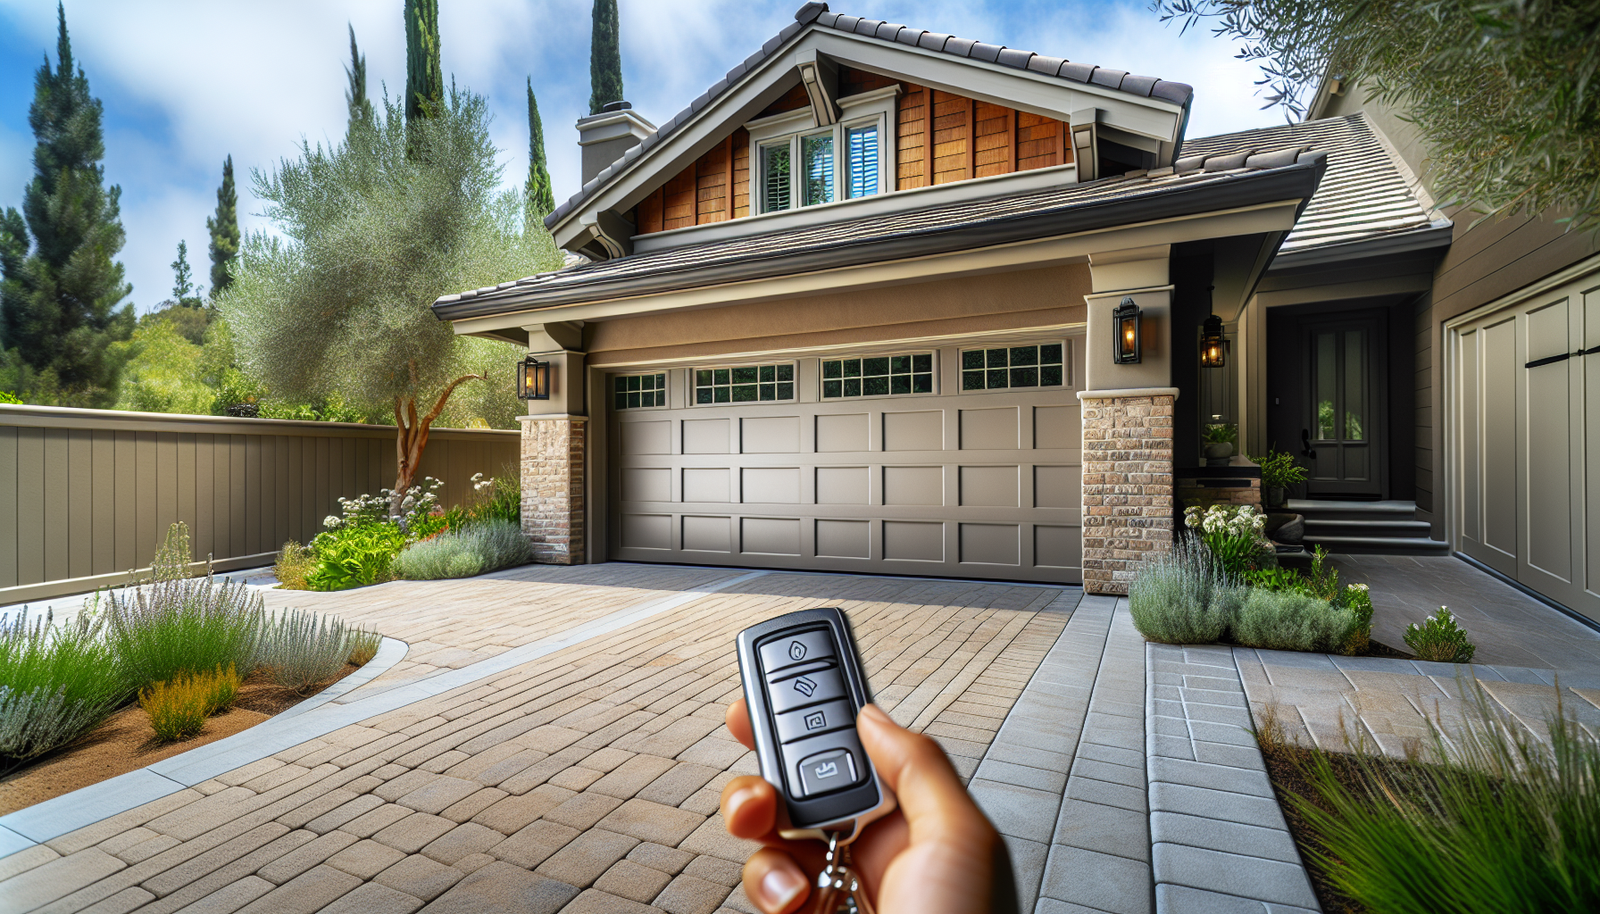
The Importance of a Functional Garage Door Remote
Your garage door remote is not just a convenience; it's a critical component of your home security. In Boston, where winter storms can challenge the reliability of your garage door, knowing how to program your remote can save you time and hassle. This guide will walk you through the essential steps to program your garage door remote efficiently.
Understanding Your Garage Door System
Before diving into the programming steps, it's crucial to understand how garage door systems work. Most Boston homes use one of two types of garage door openers:
- Chain Drive: Known for their durability and power, suitable for heavy doors.
- MyQ-Enabled Openers: Newer models that allow remote access through smartphone apps.
Understanding your system will help ensure you follow the correct programming steps.
Common Types of Garage Door Remotes
Garage door remotes also vary in type, which can affect how they are programmed. Here are a few common types:
- Keychain Remotes: Compact and convenient for on-the-go access.
- Visor Remotes: Designed to be clipped on the car visor for easy access.
- Wall-mounted Remotes: Great for garages without attached houses.
Step-by-Step Guide to Program Your Garage Door Remote
Follow these steps to program your garage door remote successfully:
Step 1: Locate Your Garage Door Opener
Your garage door opener is typically mounted on the ceiling of your garage. Look for:
- Power button
- Programming button (usually labeled 'Learn')
- Light indicators
Step 2: Prepare Your Remote
Make sure your remote has fresh batteries installed to avoid any interruptions during the programming process. Old batteries can disrupt signals and lead to frustrating experiences.
Step 3: Access Programming Mode
Press and hold the 'Learn' button on your garage door opener until the indicator light turns on. This usually takes about 2 seconds. The light will remain on.
Step 4: Program Your Remote
Within 30 seconds of pressing the 'Learn' button, press and hold the button on your remote that you want to program. The opener light should blink or turn off, indicating successful programming.
Step 5: Test the Remote
Press the button on your remote to confirm that it opens and closes the garage door. If it doesn’t work, repeat the steps as needed.
Common Issues When Programming Garage Door Remotes
Even with these straightforward instructions, you may encounter some common issues:
- Remote Not Responding: This may be due to weak batteries or interference from nearby electronics.
- Light Indicators Not Activating: Make sure you’re within range of the opener and that nothing is blocking the signal.
- Multiple Remotes: If you’re programming multiple remotes, be sure to activate them one at a time.
Maintenance Tips for Your Garage Door System
To ensure your garage door operates smoothly, consider these maintenance tips:
- Regularly test your garage door remote to ensure it’s functioning.
- Inspect the garage door tracks, springs, and cables for signs of wear.
- Lubricate moving parts to reduce friction and noise.
Statistics and Facts About Garage Doors
Did you know that:
- Approximately 70% of homeowners in Boston use their garage as the primary entrance to their homes?
- Regular maintenance can extend the lifespan of your garage door by 30%?
Conclusion: Enjoy the Convenience of a Programmed Garage Door Remote
Programming your garage door remote is a straightforward task that can enhance your home's security and convenience. By following our guide, Boston residents can ensure easy access to their garages, especially during harsh weather conditions. If you run into any issues or need professional assistance, don't hesitate to contact GarageLand for expert garage door repair services in Boston, MA. Let us help you keep your garage door in top condition!